Brief
Simple instructions for mouting this engine guard to my ‘11 Rocket 3 Roadster
Inventory
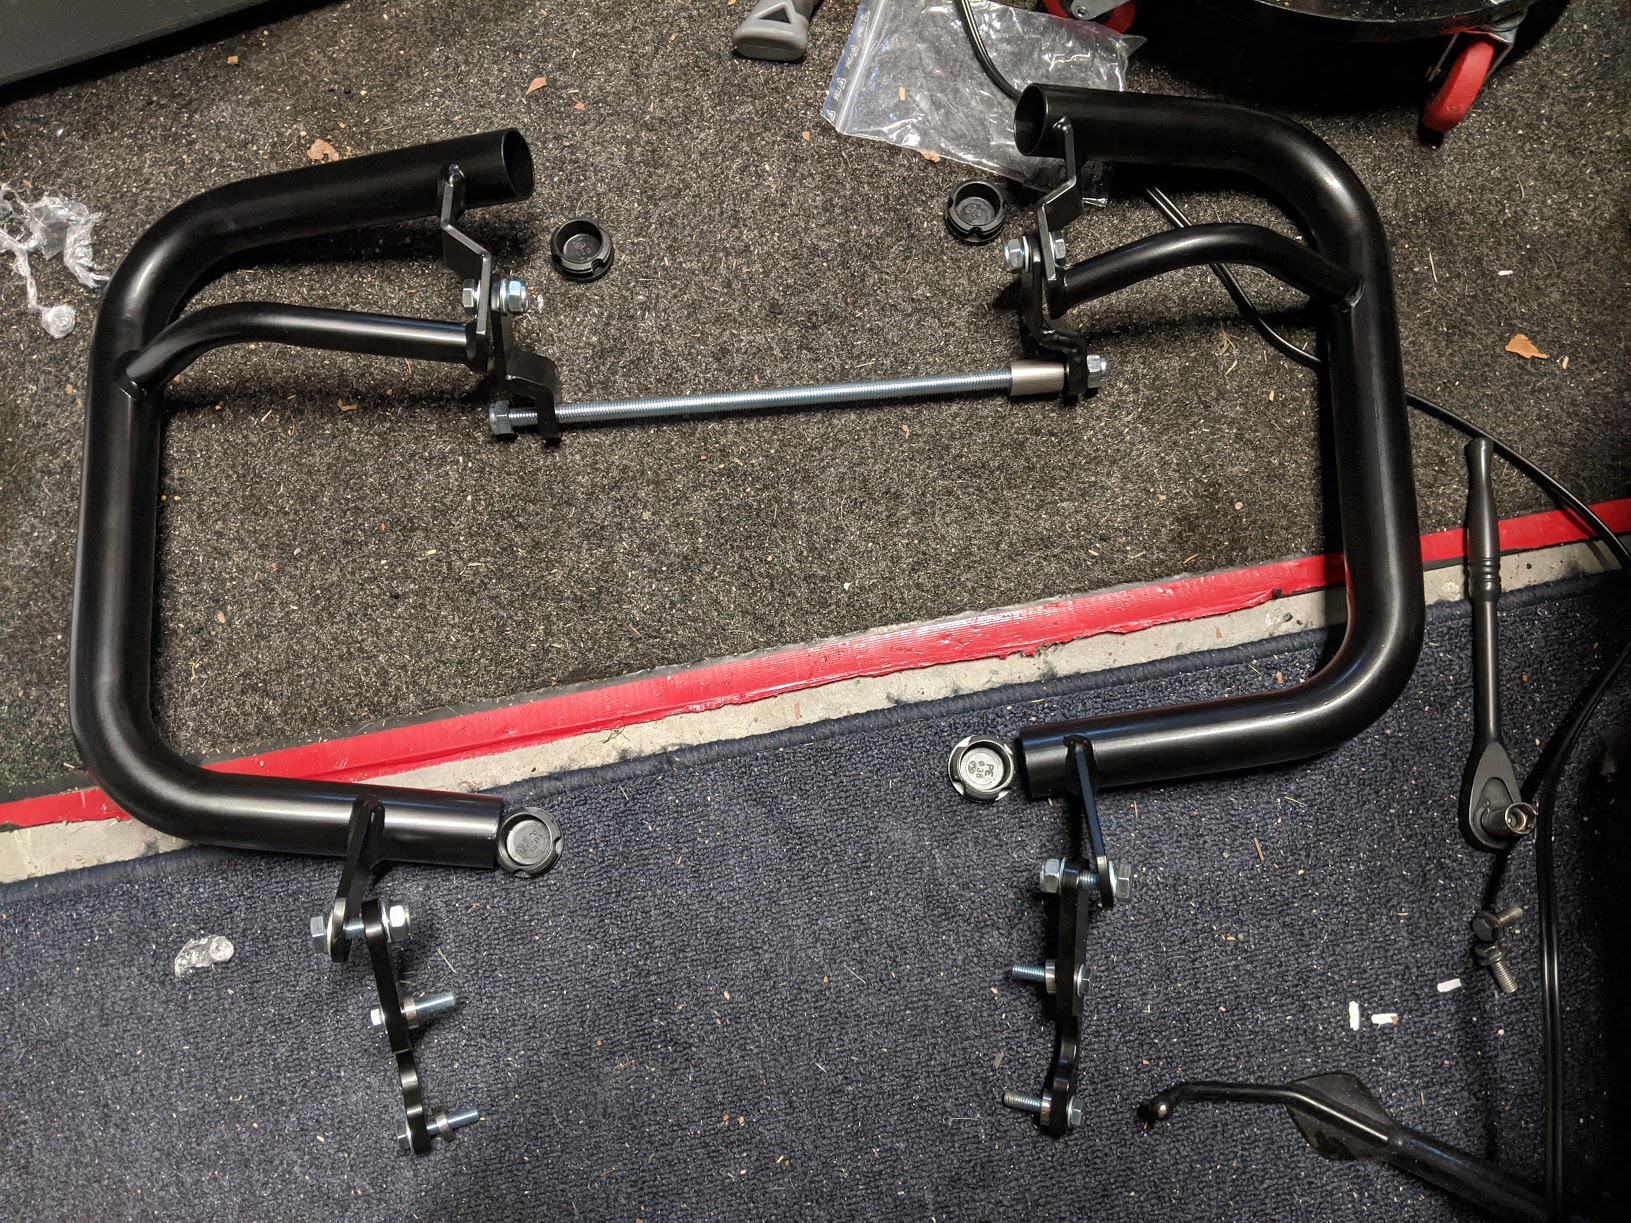
After ensuring you have all parts, do a test-fit with all pieces. You can pop on the endcaps anytime.
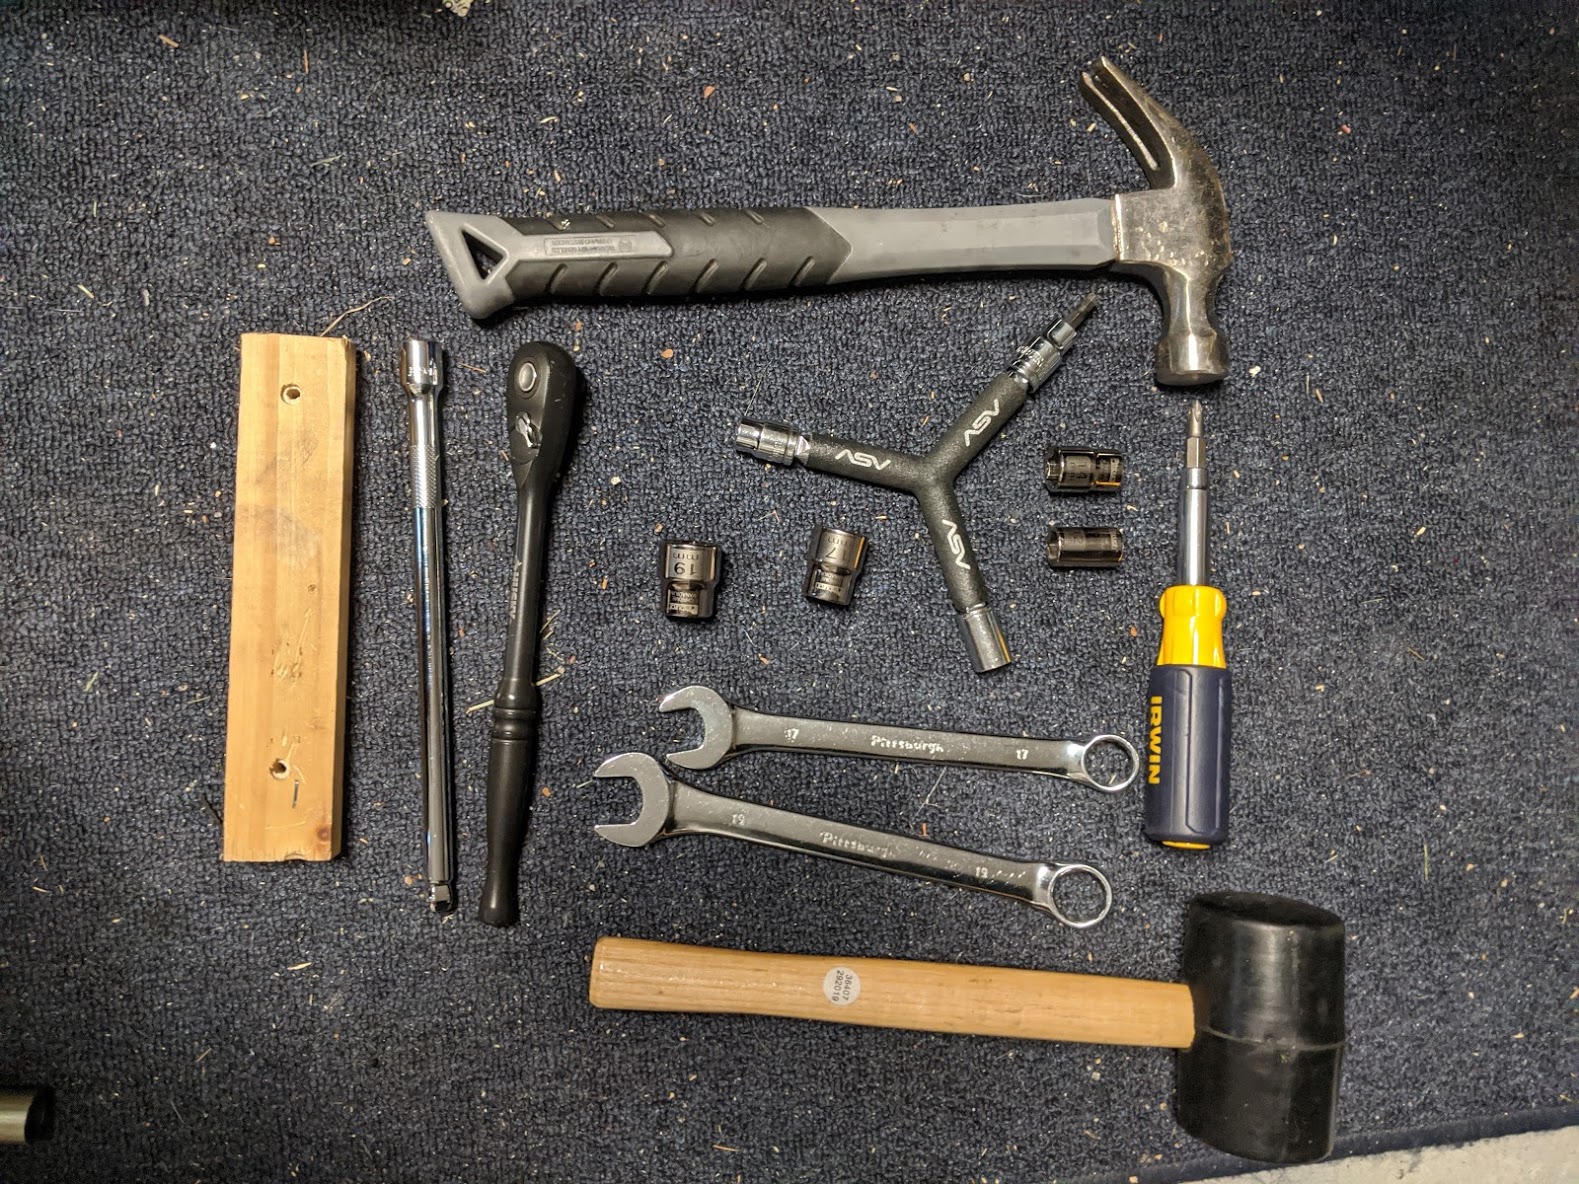
Tools
- bike jack / wood blocks (take weight off the engine bolt)
- Hammer (tap the center bolt) + wood scraps
- ratchet + wobble extension
- wrenchs (17mm, 19mm)
- short sockets (12mm, 14mm, 17mm, 19mm)
- Phillips screw driver
- rubber mallot (optional but nice to have)
- 5mm allen
- vice grips (optional)
- Rubber gloves (optional)
Key
Left side - Intake Side Right Side - Exhaust Side
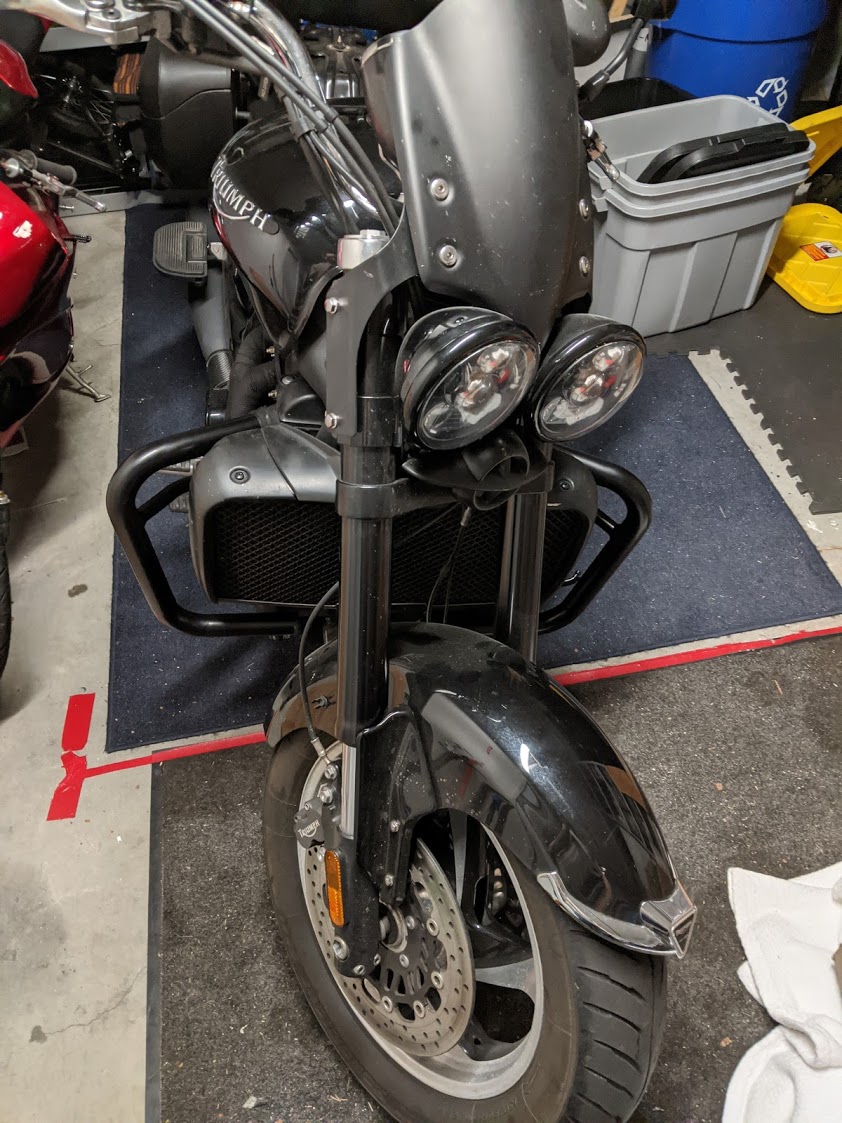
all pieces assembled (loosely)
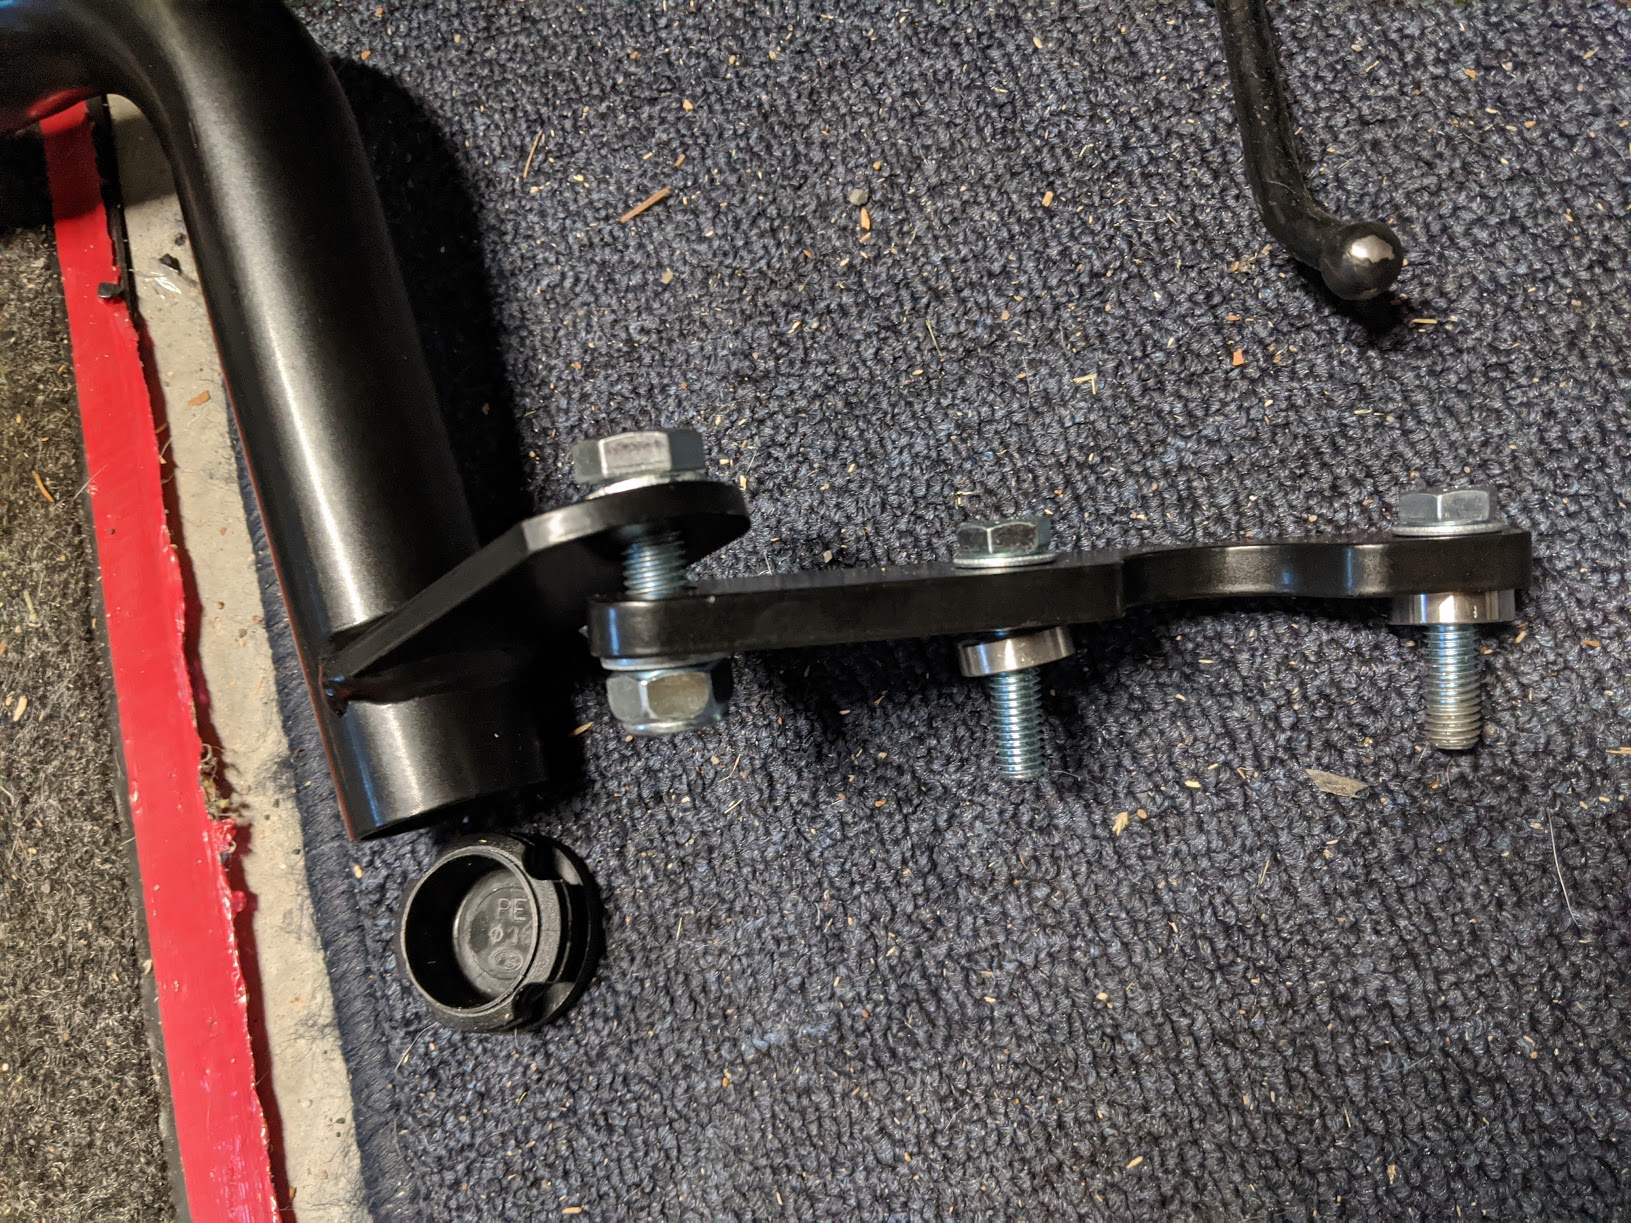
close-up of the lower bracket, including the 2 spacers
Mounting
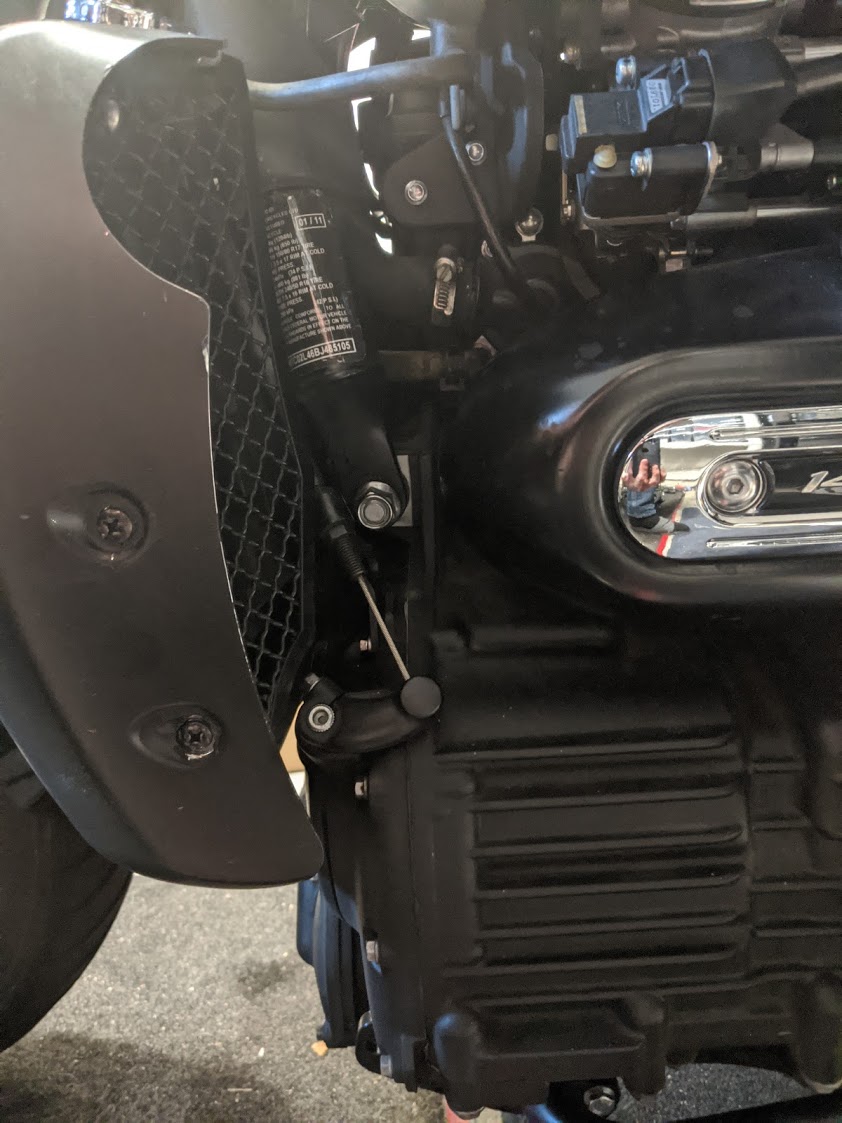
Remove the right radiador guard mesh (blocks the bolt) Remove the 4 screws and the shroud, then remove the top screw and the side allen to remove the mesh.

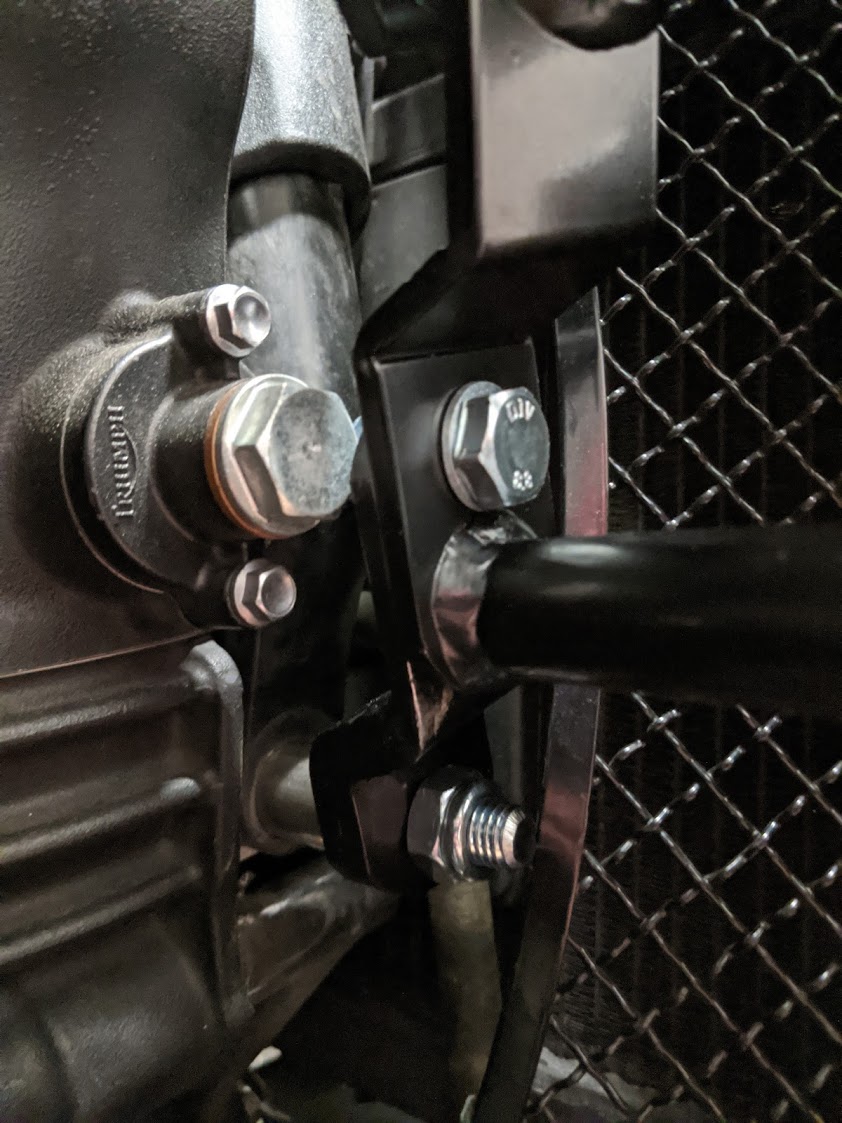
 Remove the 2 bottom bolts with a 12mm socket, replace with the mounting bracket as shown, be sure to use the short spacers.
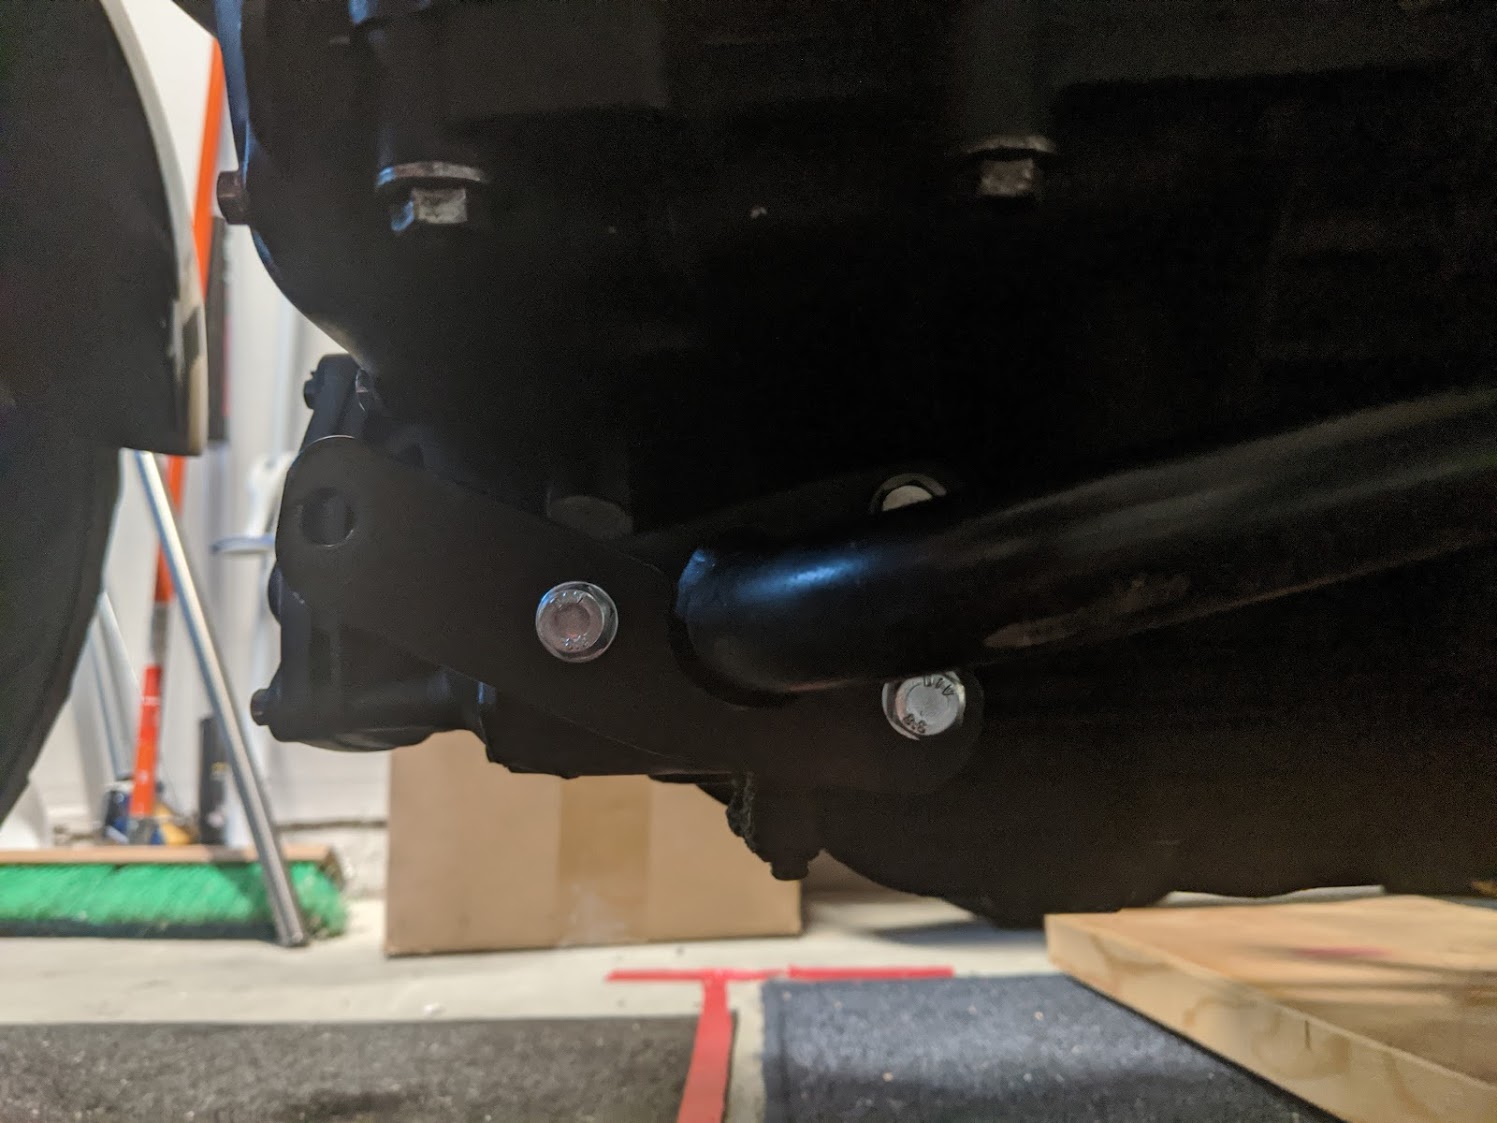
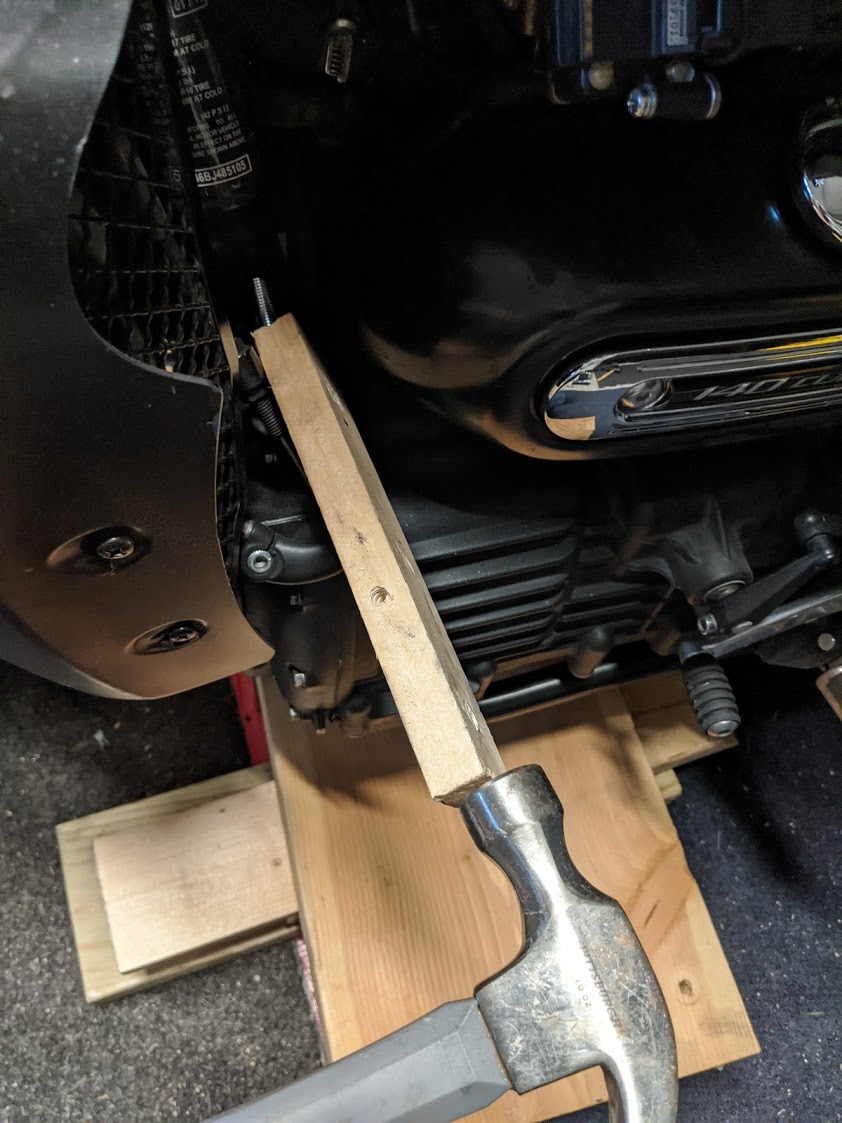
Jack-up the motorcycle engine enough to releve the pressure on the axle bolt, it should come out smoothly, follow it with the threaded rod, lightly tap it with a hammer+wood scrap or a mallot.
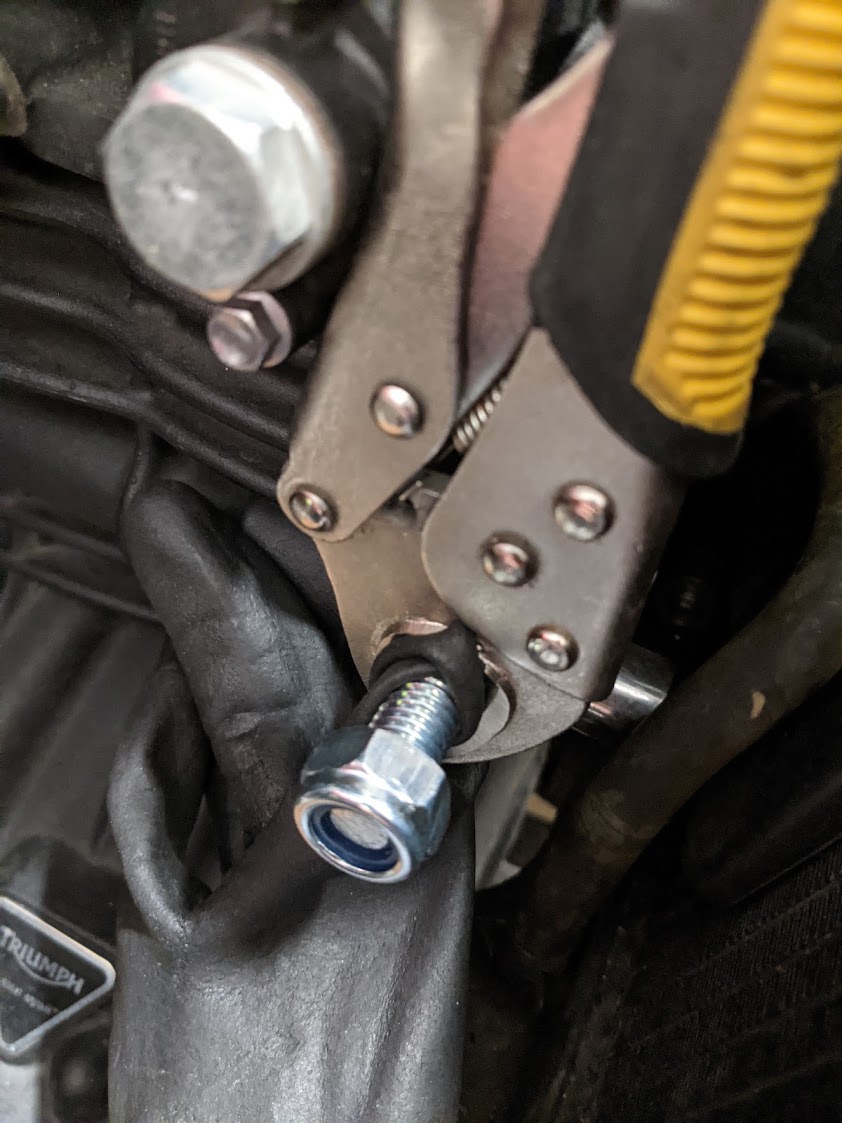
Make sure the left side (intake side) has more threads showing than the right as clearance is an issue, no less than 3 threads showing on either side, if you need help preventing the bolt from moving, you can use vise-grips and something (I used a rubber glove) to protect the threads. The right-side will get the long spacer.
Tightening things up
Now that everything is mounted, go back and tighten everything up, do not overtighten! 12-14 ft-lb of torque should be plenty, check them the first few rides to ensure they don’t back themselves out with vibration, althought they are nylon locnuts you could use some loctite.
Followup
questions/comments/concerns, open an issue and I can ellaborate.